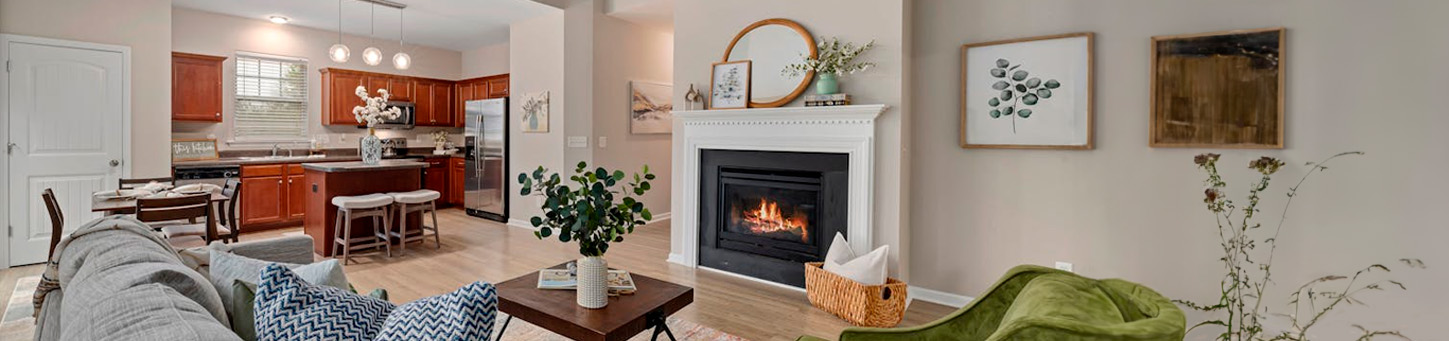
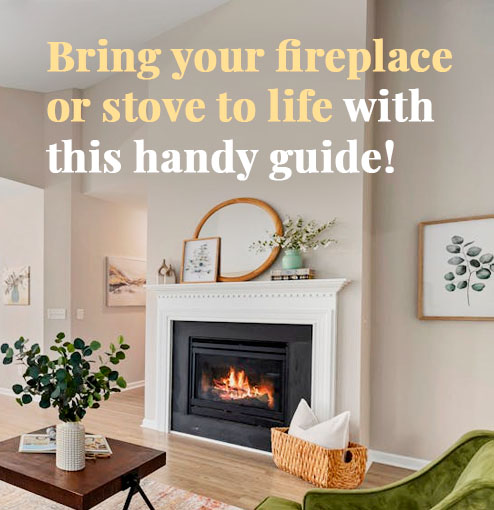
Painting a stove or fireplace is an excellent way to refresh its appearance and give your home a new touch. However, it requires careful preparation and execution to ensure that the result is durable and safe. In this blog, I’ll guide you through the necessary steps to effectively paint a stove or fireplace.
Necessary Materials
Before you begin, make sure you have the following materials on hand:
- Heat-resistant paint (must withstand temperatures of at least 650°F or 340°C)
- Heat-resistant primer (optional, but recommended)
- Fine-grit sandpaper (120-220)
- Painter’s tape
- Sandpaper
- Clean rags or cloths
- Solvent (for cleaning)
- Brushes or rollers suitable for oil-based or high-temperature paints
- Protective gloves and a mask
Step 1: Prepare the Work Area
Preparation is key to achieving a good finish. First, ensure that the stove or fireplace is completely off and cool. If possible, ventilate the area well to avoid inhaling fumes or dust.
Place painter’s tape around the areas you do not want to paint, such as the glass on the fireplace, controls, or surrounding walls. You can also cover the floor and nearby furniture with old sheets or paper to protect them from splatters.
Step 2: Clean the Surface
It’s essential that the surface is clean and free of dirt, grease, or ash residues. Use a clean rag and an appropriate solvent to remove any grime. If the surface is especially dirty, you can use a mixture of water and mild detergent, but make sure to completely dry the surface before proceeding.
Step 3: Sanding
The next step is to sand the surface so the paint adheres properly. Use fine-grit sandpaper to gently sand the entire area you wish to paint. This will also help remove any loose or flaking paint if you’re repainting an already painted stove or fireplace.
After sanding, wipe away the dust with a clean, dry cloth.
Step 4: Apply the Primer (Optional)
Although not always necessary, applying a heat-resistant primer can improve paint adhesion and extend the durability of the finish. Make sure the primer you use is compatible with the heat-resistant paint you’ve chosen.
Apply the primer in an even layer and allow it to dry according to the manufacturer’s instructions.
Step 5: Painting
Now you’re ready to paint. Use a paint specifically formulated to withstand high temperatures. Apply the paint in thin, even coats to avoid drips or buildup. Depending on the type of paint, you may need to apply more than one coat to achieve adequate coverage.
It’s important to let each coat dry completely before applying the next. Follow the manufacturer’s instructions for drying time between coats.

Step 6: Drying and Curing
After applying the final coat of paint, allow the stove or fireplace to dry completely. This may take several hours or even days, depending on the type of paint used. It’s crucial to follow the manufacturer’s instructions for the drying and curing process.
Step 7: Remove the Tape and Clean Up
Once the paint is completely dry, carefully remove the painter’s tape. Be sure to do this slowly to avoid peeling off the paint.
Step 8: Fire Up the Stove or Fireplace
Before lighting the stove or fireplace, review the paint’s instructions again. Some paints require a curing process through gradual heating. This means lighting the stove or fireplace at a low temperature for a while to allow the paint to set properly.
Additional Tips
- Ventilation: Ensure the area is well-ventilated throughout the process to avoid inhaling toxic fumes.
- Safety: Wear gloves and a mask to protect yourself from dust and fumes.
- Test the paint: If possible, test the paint on a small section before painting the entire stove or fireplace to ensure the color and texture are what you desire.
Do you have any questions or additional tips? Leave them in the comments!
