Painting with a roller is a common and effective technique for refreshing walls and ceilings at home. However, even seemingly simple tasks like this can be hindered by common mistakes that affect the final finish. Below are the ten most frequent errors when painting with a roller and how to avoid them to achieve a professional result.
1. Not properly preparing the surface
Error Description: One of the most common mistakes when painting is neglecting surface preparation. Painting over a dirty wall filled with dust, moisture, or cracks will cause the paint not to adhere properly.
Consequence: The paint may not adhere well, resulting in an uneven finish or premature peeling. Even stains and unwanted textures may remain visible after applying the paint.
Solution: Thoroughly clean the surface with a damp cloth and use a mild cleaner if necessary. If there are cracks, repair them with putty and sand the area until smooth. Ensure the wall is completely dry before starting to paint.
2. Choosing the wrong roller
Error Description: Each type of roller is designed for different surfaces. Using the wrong roller can result in an uneven finish or inadequate paint coverage.
Consequence: Selecting the inappropriate roller can leave lines or bubbles on the surface and require more effort to achieve uniform coverage.
Solution: Use short-nap rollers (1/4 to 1/2 inch) for smooth surfaces and long-nap rollers (3/4 to 1 inch) for textured surfaces. This will ensure the paint covers well without leaving marks.

3. Not applying painter’s tape correctly
Error Description: Painter’s tape is essential for delineating edges and preventing paint seepage. Improper application can result in uneven edges or stains.
Consequence: Paint can seep under the tape, staining edges or the ceiling, leading to an unprofessional finish.
Solution: Apply the tape firmly, ensuring to press well to prevent seepage. After painting, remove it while the paint is still fresh to avoid peeling off with the dry paint.
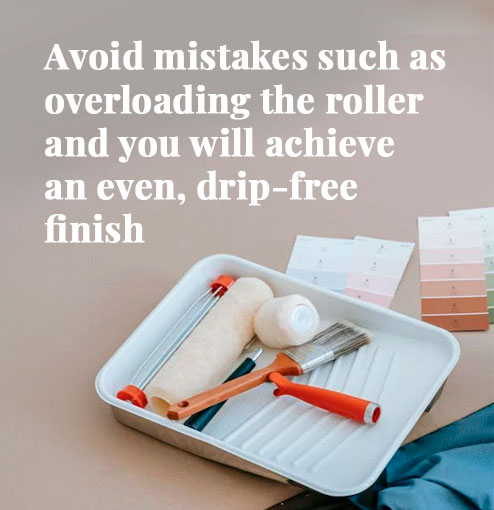
4. Overloading the roller with paint
Error Description: A common mistake is dipping the roller into too much paint, which can cause drips and uneven application.
Consequence: The paint drips and accumulates, creating thick and uneven marks that can be difficult to correct.
Solution: Dip the roller halfway into the paint and remove the excess in the paint tray, distributing the product evenly. This prevents drips and ensures uniform application on the wall.
5. Not using the correct application technique
Error Description: Applying paint haphazardly or without a specific movement pattern can result in visible roller marks.
Consequence: The wall may end up with uneven areas in terms of paint amount, and roller marks will be visible upon drying.
Solution: The proper technique is to paint in a “W” or “M” shape on the wall to distribute the paint evenly and then fill in the empty space. This reduces marks and provides uniform coverage.
6. Painting in unsuitable environmental conditions
Error Description: Painting in extreme temperatures or overly humid places can affect the drying and adhesion of the paint.
Consequence: In cold or humid conditions, the paint takes longer to dry and may remain sticky, while in extreme heat, it dries too quickly, making uniform application difficult.
Solution: Ideally, paint in an environment with a temperature between 10°C and 25°C and good ventilation. Avoid painting on extremely humid or hot days to ensure uniform drying.

7. Not using primer when necessary
Error Description: Primer is essential on new or problematic surfaces, such as those that have been repaired or have stains.
Consequence: Without a primer coat, the paint may not adhere properly, and stains or repairs may show through the final coat.
Solution: Apply a suitable primer before painting, especially on new walls, repaired areas, or surfaces with stains. This ensures better adhesion and a more uniform finish.
8. Not allowing adequate drying time between coats
Error Description: Applying a second coat before the first has dried can cause the paint to peel or create an uneven finish.
Consequence: The paint may peel, bubble, or result in an uneven texture, affecting the final appearance.
Solution: Follow the manufacturer’s instructions regarding drying times between coats. Typically, it’s advisable to wait at least 2-4 hours between coats, depending on the type of paint and environmental conditions.
9. Not cleaning the roller properly
Error Description: Neglecting to clean the roller after use can cause paint buildup, affecting future applications and the tool’s lifespan.
Consequence: A dirty roller can leave unwanted textures or colors on subsequent projects and may deteriorate faster.
Solution: After finishing painting, clean the roller thoroughly with water (for water-based paints) or the appropriate solvent (for oil-based paints). Allow it to dry completely before storing.
10. Not protecting surrounding areas
Error Description: Failing to cover floors, furniture, or fixtures can result in unwanted paint splatters and stains.
Consequence: Paint stains on floors or furniture can be difficult to remove and may cause permanent damage.
Solution: Use drop cloths, plastic sheeting, or old sheets to cover floors and furniture. Remove or cover fixtures and hardware to protect them from accidental splatters.
By avoiding these common mistakes and following the recommended solutions, you can achieve a professional and long-lasting finish when painting with a roller.

